


Once you’ve created product groups in ShutterPress, the next step is to assign them to your galleries. This enables the eCommerce functionality, letting your visitors click the cart icon on an image and select from a list of products associated with that gallery.
How to Add Product Groups to a Gallery #
1. Open a Gallery for Editing #
Go to ShutterPress → All Galleries and click “Edit” on the gallery you’d like to add products to.
2. Locate the WooCommerce Panel #
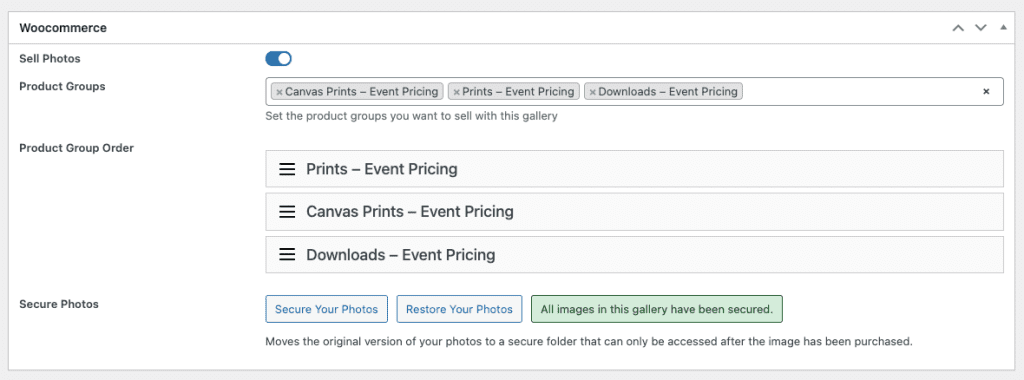
3. Turn on Sell Photos #
Selecting this option will make products available for sale and show the cart icon on each image in the gallery.
3. Select Product Groups #
From the dropdown or list, choose one or more product groups to assign to this gallery.
- Only product groups you’ve created will appear here.
- Each group can include multiple WooCommerce products (e.g. different sizes or versions).
4. Reorder Product Groups (Optional) #
You can drag and drop the selected groups to control the order in which they appear in the purchase popup.
5. Secure your original images (Optional) #
Click on “Secure Your Photos” to move your original images to a secure folder. Read more about this feature here.
6. Save the Gallery #
Click Update to save your changes. That’s it!
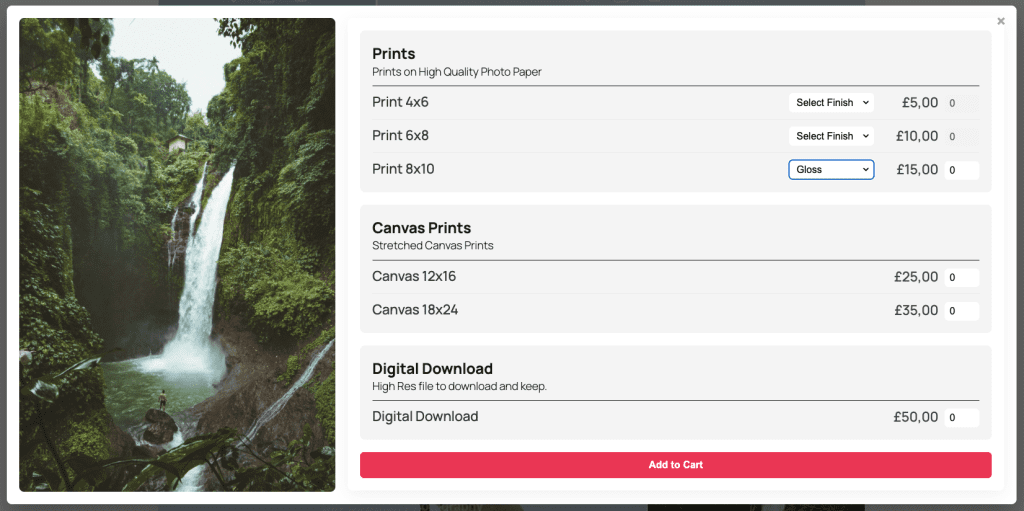
Now, when users view the gallery on your website, they’ll see a cart icon on each image. Clicking it will open a product selection popup showing the products from your assigned groups.