


Product groups in ShutterPress Gallery allow you to bundle related WooCommerce products and assign them to galleries. This gives you full control over what products are available for each gallery, in what order, and with what internal labels — all without cluttering your WooCommerce store.
What Are Product Groups? #
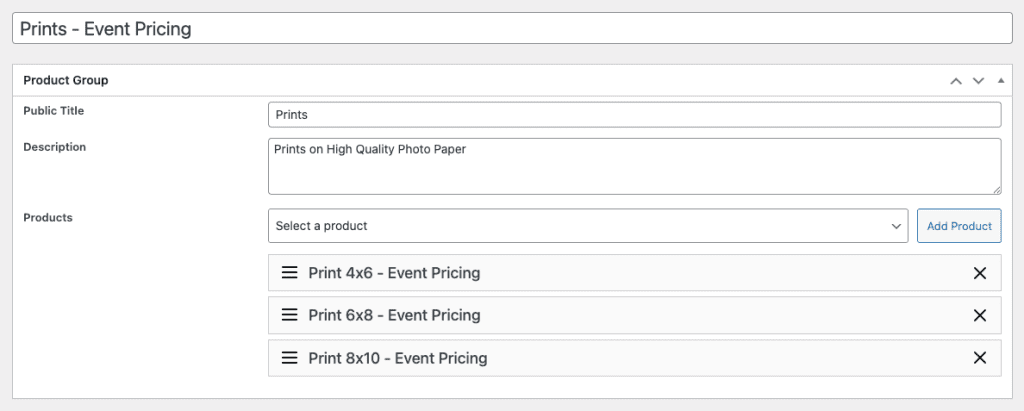
A Product Group is a collection of WooCommerce products that you can assign to a ShutterPress gallery.
For example:
- A group called “Prints” might include products like “8×10 Print,” “11×14 Print,” and “16×20 Print.”
- A group called “Digital Files” might include digital downloads.
- A group called “Event Prints” might have a selection of prints with different pricing from your regular pricing.
When a product group is assigned to a gallery, its products appear in the purchase popup when users click the cart icon on an image.
How to Create a Product Group #
- Go to ShutterPress → Product Groups in your WordPress admin.
- Click Add New at the top of the page.
- Give your group a title (e.g. “Event Prints” or “ Event Digital Downloads”). This is for internal use only.
- Give your group a Public title (e.g. “Prints” or “Digital Downloads”). This is what your customers will see.
- Add a Description, this will appear under the Title on the purchase popup.
- Under the Products section, use the dropdown to select any products you’ve previously marked as ShutterPress Gallery Products.
- Drag and drop products to reorder how they appear in the purchase popup.
💡 You can add the same product to multiple groups if needed.
Notes #
- A product must be marked as a ShutterPress Gallery Product to appear in group selection.
- You can reuse product groups across multiple galleries.
- Rearranging products within groups affects the front-end order immediately after saving.