


Watermarking Images in ShutterPress #
ShutterPress allows you to add text or image watermarks to your gallery images for extra protection.
How to add watermarks #
- Go to ShutterPress → All Galleries and select the gallery you’d like to edit.
- Scroll down to the Watermark section.
- Choose whether to use the default watermark settings or specific settings for this gallery.
- Default settings can be set under ShutterPress → Settings → Watermark.
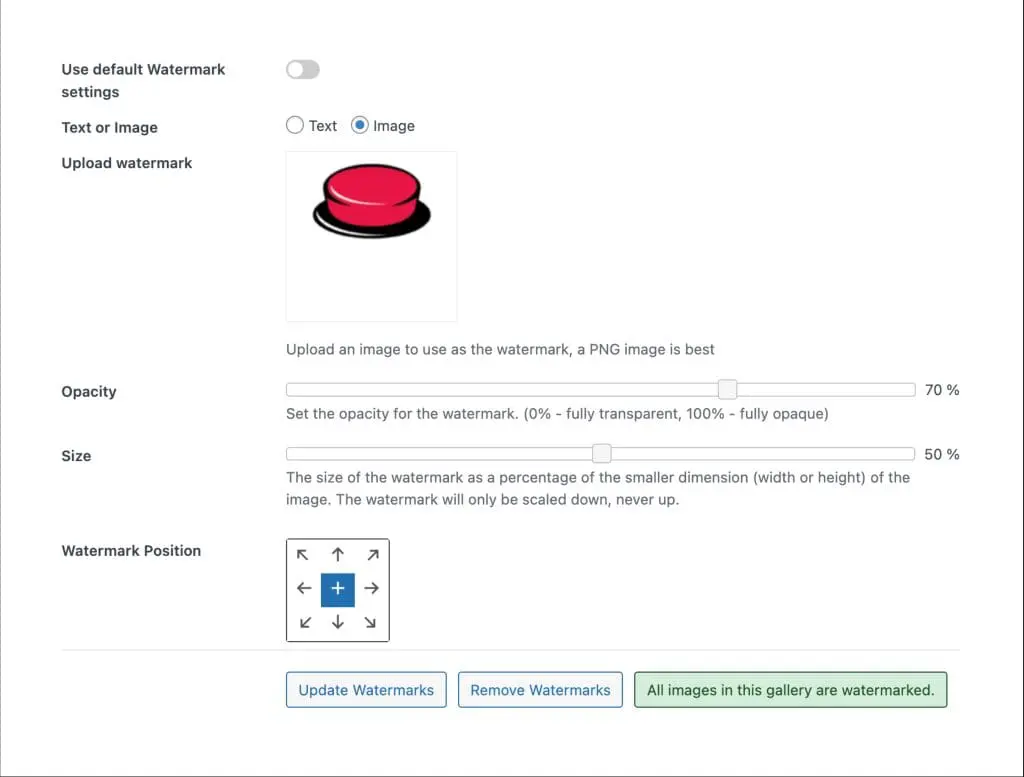
Choose watermark type #
- Text – type your watermark text directly.
- Image – upload a custom watermark (a transparent PNG is recommended).
Configure your watermark #
- Opacity – adjust the slider to set transparency (0% = invisible, 100% = fully opaque).
- Size – adjust the slider to set the watermark size as a percentage of the smaller image dimension (width or height). The watermark only scales down, never up.
- Position – use the position grid to choose where the watermark will appear (centre, corners, or edges).
Apply the watermark #
Click Update Watermarks to apply your chosen settings to all images in the gallery. Watermarks will be applied in batches, and you’ll see a progress indicator showing how many images have been processed.
Image backups #
When a watermark is applied, a backup of the original image is stored in a secure folder on your WordPress installation. If you update or remove watermarks later, ShutterPress uses this original file to regenerate the images.
Updating watermarks #
You can update watermarks at any time using the same process as adding them. Click Update Watermarks again, and new watermarked images will be created.
Removing watermarks #
To remove all watermarks from a gallery, click Remove Watermarks. This is also done in batches. The original image files will be restored to their original location and the backups deleted.
Watermark status #
The status box shows how many images in the gallery are watermarked:
- Red – only some images are watermarked.
- Green – all images are watermarked, or none are watermarked.